

Google Slides makes it easy to create content for our students to use online. It’s not only a platform for creating presentations, but teachers can even use it to create online choice boards. Choice boards allow students to take ownership of their own learning and help keep students motivated because they get to select their own learning paths. Click here to read about other ways to integrate choice into secondary ELA.
But what can you use choice boards for in secondary ELA? There are SO MANY options. Some of these include:
Project choices
Close reading tasks
Revision & Editing tasks for writing workshop
Vocabulary activities
Exam reviews
Virtual field trips
There are even MORE ideas where these came from!
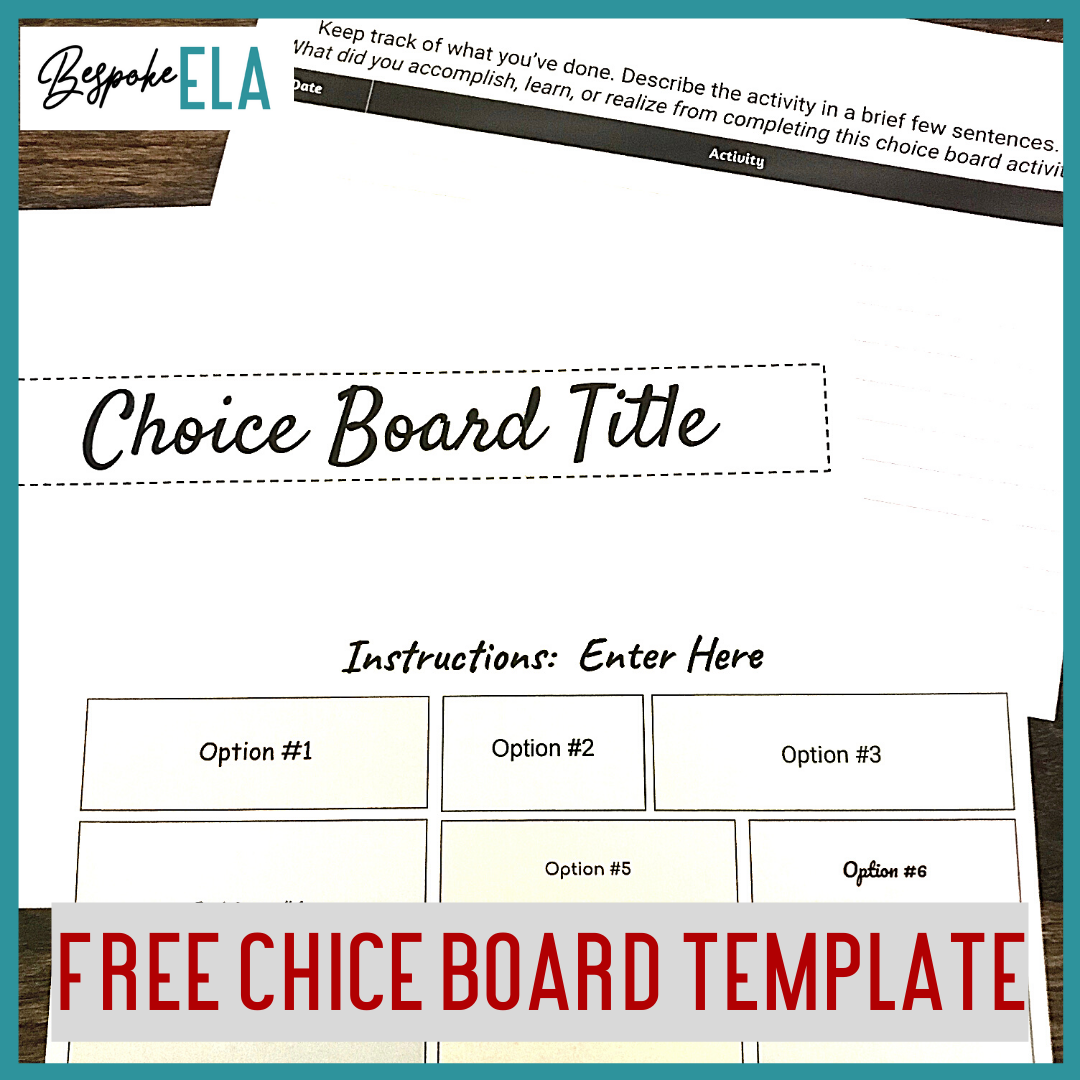
Here are the simple steps to create a choice board on Google Slides. I created a basic template for you to use if needed. You can grab it here from the FREEBIE LIBRARY. If you have already subscribed to the blog, simply log into the Freebie Library and look for the template in the “Google Classroom” or “Distance Learning” categories.
Step #1: Create a New Project in Google Slides
The first step in this process is to decide upon what you want to do with the choice board. Once you’ve done that, go to Google Slides and create a new project. Give the new project a title and decide upon how many options you would like to offer on the choice board.
Step #2: Add Text Boxes & Directions to the Slide
After you have figured out how many options you would like to offer your students, create that same number of text boxes on the slide. To add the text boxes, simply click on the box with the letter T in it. For aesthetics, you can make the text boxes various sizes and use different fonts and colors for each one. You will want to make sure that you show the border lines on the text boxes. You might also consider numbering the text boxes if there are any steps involved with your choice board assignment.
Add directions to the slide that instruct students on how many options they need to complete for the assignment. This will vary depending upon the purpose of the choice board. If the purpose of the board is to revise and edit a piece of writing, you might ask students to complete 3-5 options. If it is project-based, you might ask students to select 1-2 options.

Step #3: Add Hyperlinks as Needed
What is a hyperlink? A hyperlink is when you insert a website link to a webpage or when you link to another slide or page in your Google Slides project. Here’s how to do it:
To insert a link to another website, simply highlight the text that needs to be linked. Then, select INSERT/ LINK. A box will then appear for you to copy/paste the website URL. Once you select APPLY, the text will automatically be linked to that website. There is a shortcut to do this in the toolbar that looks like an infinity sign. It accomplishes the same task.
To link to another slide or page in your Google Slides project, you first need to create all of the slides you will need. Then, go back to your choice board and follow the same instructions from step one EXCEPT instead of entering a URL into the box that appears after you select INSERT/ LINK, you will select SLIDES IN THIS PRESENTATION. When you select that option, all of your slides will appear, and all you need to do is simply select the slide that you would like to link to from your choice board. Why would you want to use this option? This option enables you to link to other slides in your presentation where students can get more information or help to complete the option from the choice board. For example, if one of the options says to “Edit out passive voice in your essay,” you can create a slide about passive voice in your presentation and hyperlink to it so that students can click to that slide if they need help with passive voice. That’s just one simple way to use links within your presentation, but they can have lots of uses.
Step #4: Decide How you will Assess the Activity
This is important because you might want to take this activity for a grade. If the point of the choice board is as simple as a project selection board, then students can simply turn in their projects— either in person or virtually through Google Classroom. This, of course, depends on the project. You can also opt to have students keep notes on the options they selected, what they did, and how it turned out. I recently did this in my AP Lit classes where I had students review for the AP exam by selecting five options from a choice board. While they completed their five selected items, I had them take notes to turn into me for a grade. This way, I was able to hold them accountable for what they chose to do.
There are just so many ways to use and implement choice boards, and using Google Slides can make the process very easy. Grab this choice board template from the FREEBIE LIBRARY. You can gain access by subscribing to Bespoke ELA!

About the Author

Meredith is the founder and creator of TeachWriting.org and Bespoke ELA. She has taught high school English for 10+ years in Dallas, Chicago, and New York City and holds a M.A. in Literature from Northwestern University. She has always had a connection to the written word-- through songwriting, screenplay writing, and essay writing-- and she enjoys the process of teaching students how to express their ideas. Meredith enjoys life with her daughter and sweet Yorkie.